The Metaforge ARC Raiders map is designed to test every aspect of a player’s survival instincts. From towering industrial complexes to hidden underground pathways, Metaforge demands smart decisions at every stage of an expedition. Players who frequently buy ARC Raiders BluePrints often prioritize this map because its resource density makes long-term progression much faster.
Understanding Metaforge’s Layout
Metaforge consists of four primary sectors:
- Outer Industrial Zone
- Manufacturing District
- Transit Tunnels
- Extraction Corridors
Each section presents unique opportunities and dangers.
Beginners often make the mistake of rushing toward the center immediately, which usually leads to early elimination.
Outer Industrial Zone
This area serves as a safer starting location.
Benefits:
- Lower enemy concentration
- Multiple supply crates
- Good visibility
Resources commonly found include:
- Basic crafting materials
- Ammunition
- Consumables
Players should use this area to establish an early advantage.
Manufacturing District
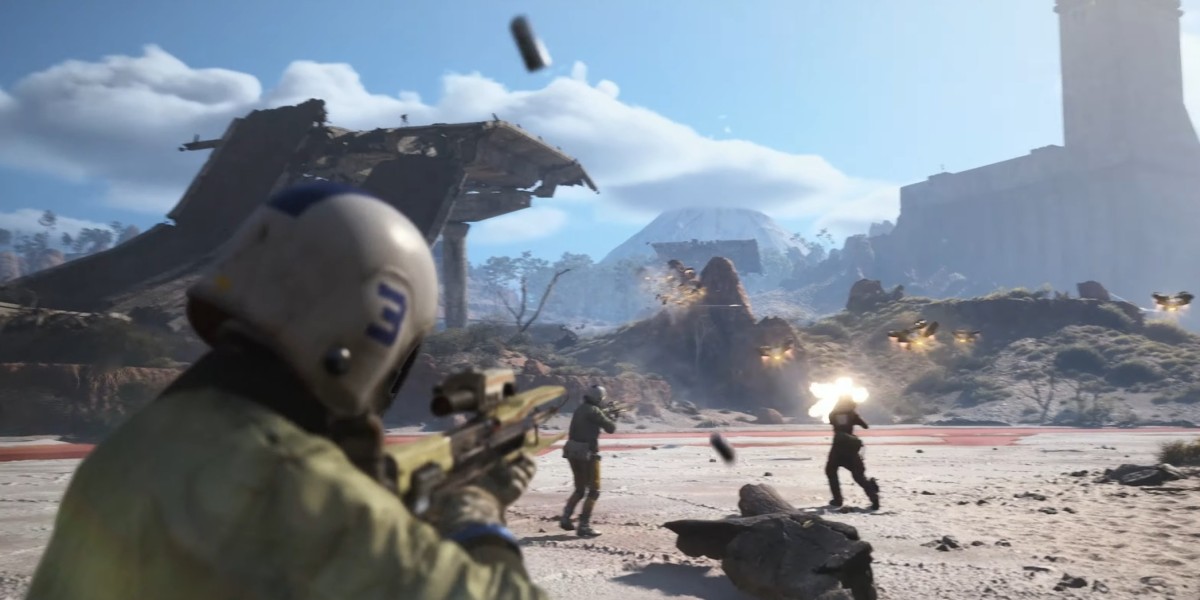
This is Metaforge’s most contested area.
Here you’ll encounter:
- Elite AI enemies
- Strong player squads
- Valuable loot containers
Success requires patience.
Instead of charging directly inside, observe enemy movement patterns first.
Many experienced players wait for other teams to engage before entering.
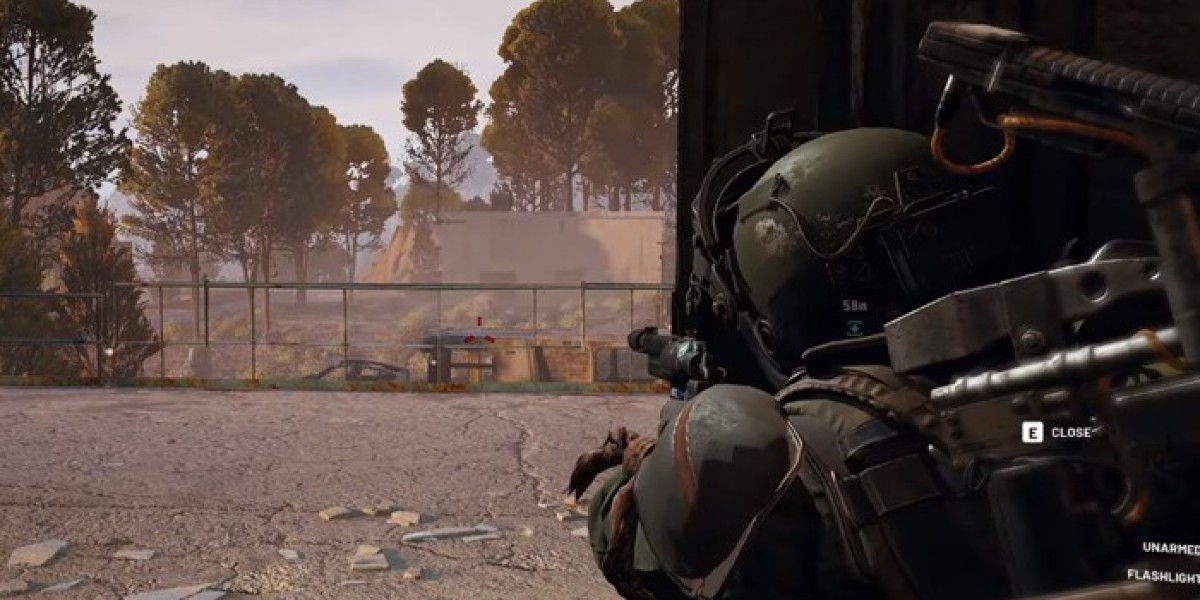
Vertical Combat Opportunities
Metaforge rewards players who utilize elevation.
Useful positions include:
- Rooftops
- Elevated conveyor systems
- Catwalks
Advantages:
- Better sightlines
- Improved defensive positions
Remaining stationary for too long, however, can expose players to sniper attacks.
Constant repositioning is essential.
Recommended Loot Route
A simple efficient route:
Start:
Outer Industrial Zone
Move toward:
Warehouse Alpha
Proceed through:
Transit Tunnel Bravo
Enter:
Manufacturing District
Finish at:
Northern Extraction
This route balances risk and reward effectively.
Solo Player Strategies
Solo players should prioritize stealth.
Important habits:
- Avoid prolonged firefights
- Loot quickly
- Monitor sound carefully
- Use tunnels strategically
Patience often beats aggression.
Solo players who survive consistently rarely engage unnecessary battles.
Squad Strategies
Groups can be more aggressive.
Recommended formation:
Front:
Assault player
Middle:
Support player
Rear:
Recon player
This setup protects the entire team while maintaining awareness.
Mistakes to Avoid
Many players repeatedly make these errors:
Ignoring audio cues.
Over-looting one location.
Chasing enemies too far.
Extracting too late.
Every additional minute spent inside Metaforge increases risk substantially.
Long-Term Benefits of Learning Metaforge
Mastering this map provides several advantages:
- Faster resource accumulation
- Improved combat awareness
- Better extraction efficiency
- More successful raids
Players who invest time learning optimal routes often progress much faster than those who simply wander without a plan. As progression systems expand over time, collecting and utilizing ARC Raiders buy BluePrints will continue to be an important part of becoming a successful Raider.